A little mushroom collection from my morning walk.
Wednesday, May 30, 2012
Thursday, May 24, 2012
Sweetgrass
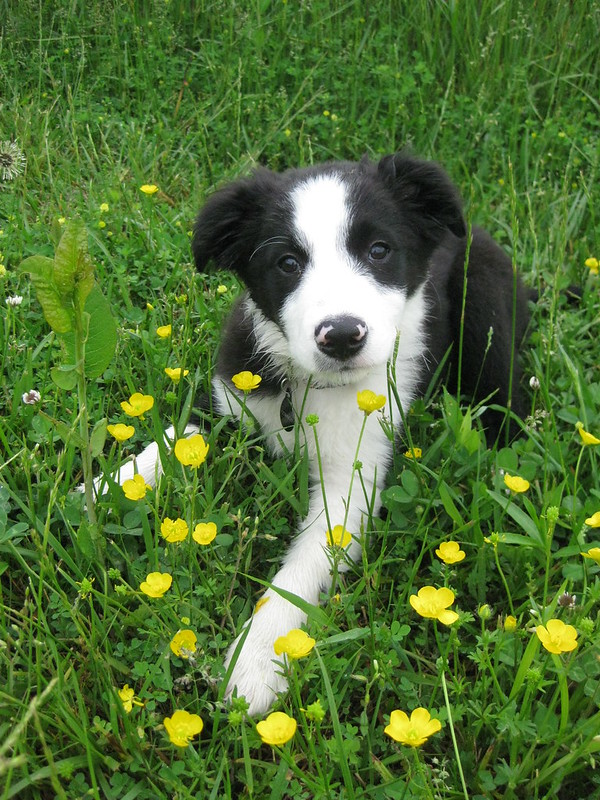
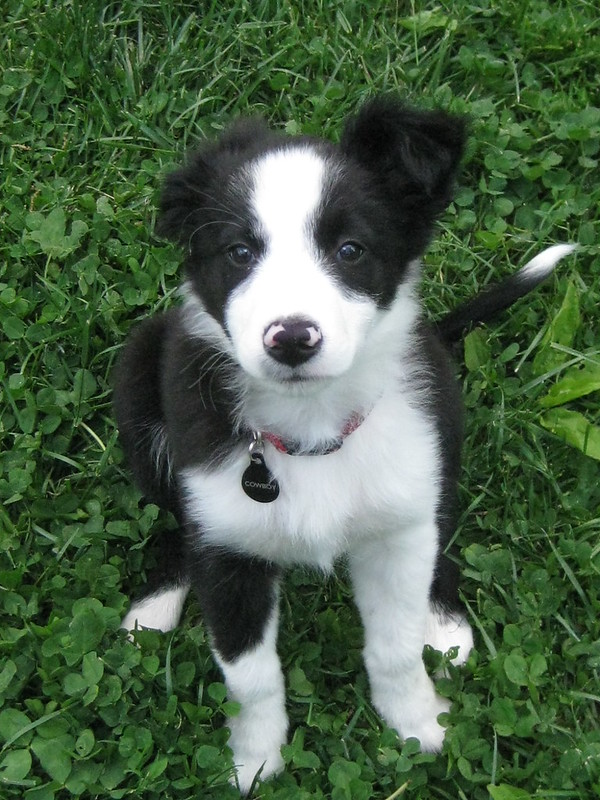
Cowboy has a lot of natural herding instincts and it's fun to watch him
crouch and stalk and work objects at such a young age. He also has fabulous eye contact,
another border collie trait, which is great for taking pictures!
I don't know much about herding and we don't have sheep, but you never know, maybe someday.
Knowing that we love our dogs and have taken a slight interest in herding,
my mother in law recommended the documentary, Sweetgrass. Have you seen it?
It is a beautiful movie, an unvarnished look at the last time this group of modern day cowboys,
shepherds really, grazed their sheep for the summer in the vast fertile pastures of the Montana mountains.
Of course they couldn't shepherd 3,000 sheep without their horses and dogs,
border collies for herding and great pyrenees for guarding. It's amazing.
I watched it a second time with the narration of the filmmakers which was equally fascinating.
Tuesday, May 22, 2012
Studio | Outside My Window
A few months back I moved my studio from the "big" church into the little building,
better known as the congregation hall, where I share a space with the owners:
interior designer, Wanda Crossley and artist and illustrator, Kevin Chadwick,
of Matthews House and Garden. The church is now an antique shop.
of Matthews House and Garden. The church is now an antique shop.
Wanda has created such pretty little gardens around the buildings and
Kevin is truly Edward Scissor Hands with the clippers and pruning shears.
Kevin is truly Edward Scissor Hands with the clippers and pruning shears.
He has shaped all of the boxwood into beautiful topiary and pleached the trees in the gardens.
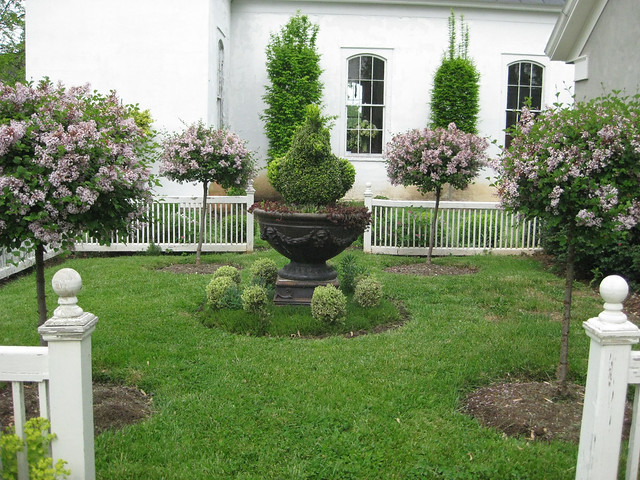
A pretty side view of the little garden looking toward the church.
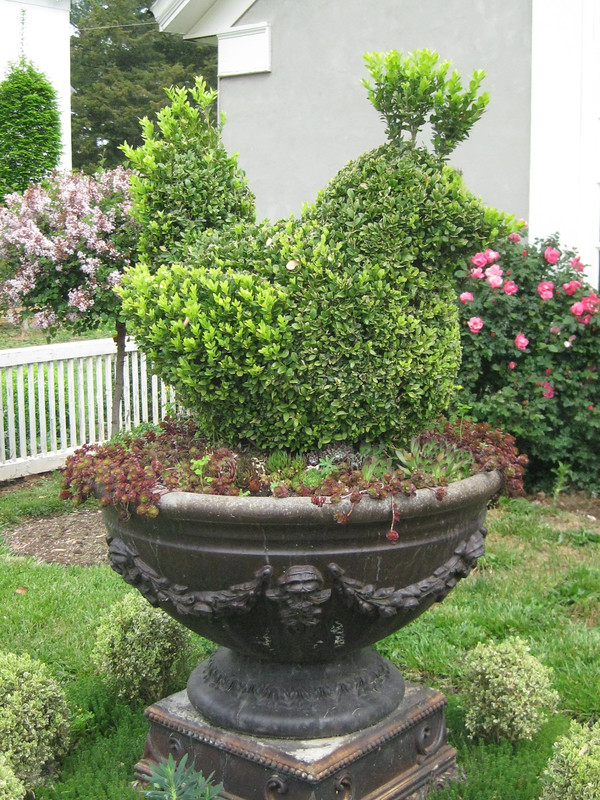
Four meyeri lilacs surround the beautiful boxwood bird centerpiece,
which is under planted with succulents and dwarf variegated boxwoods.
The meyeri lilac standards just finished blooming. They have the tiniest florets and are so fragrant.
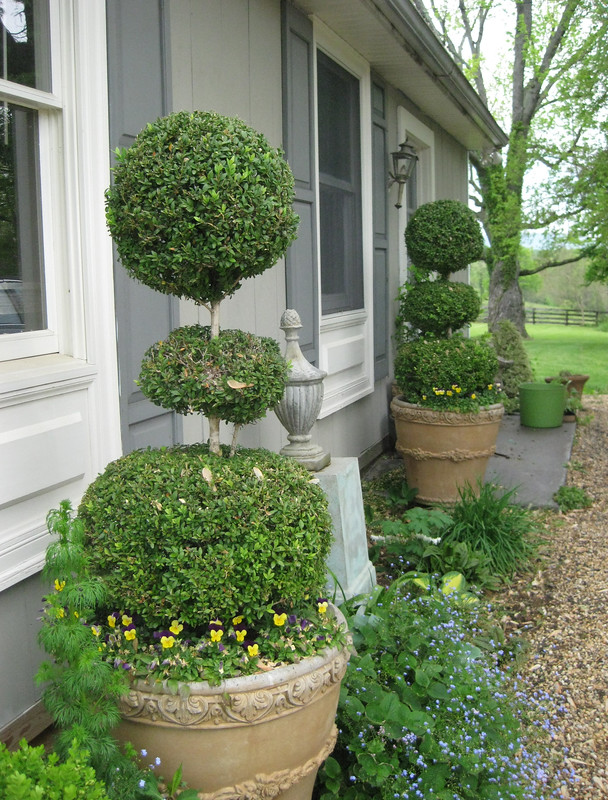
Triple ball boxwood topiaries line the side entrance.
It's a lovely place to work and I will certainly let you know if
I ever host a little open studio or offer a workshop.
I ever host a little open studio or offer a workshop.
Monday, May 21, 2012
My Cottage Garden | Spring Pickings
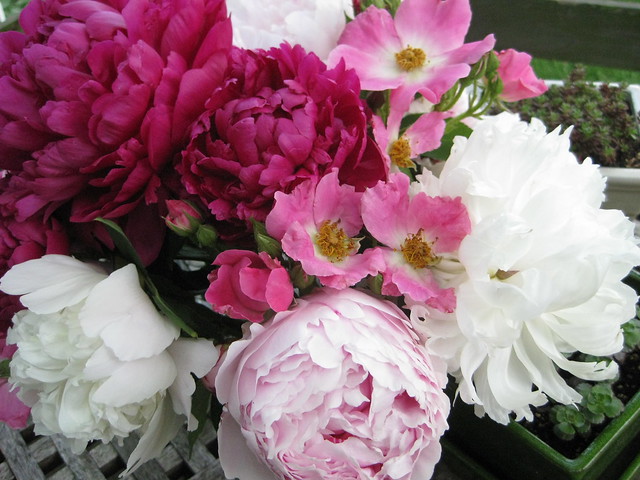
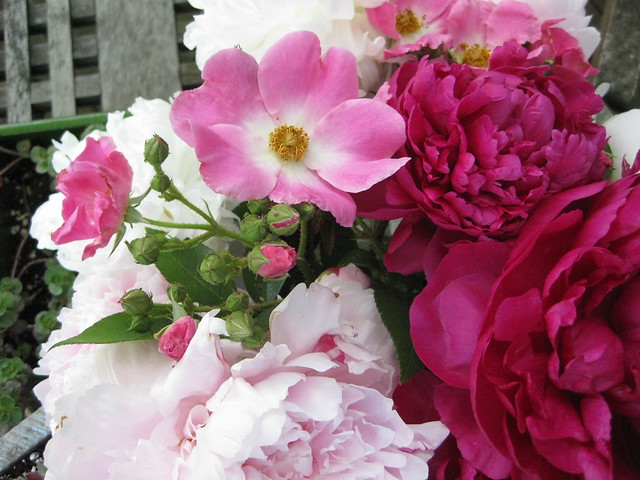
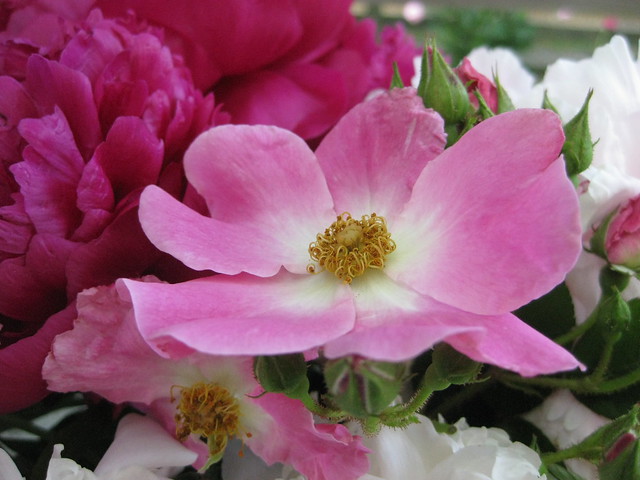
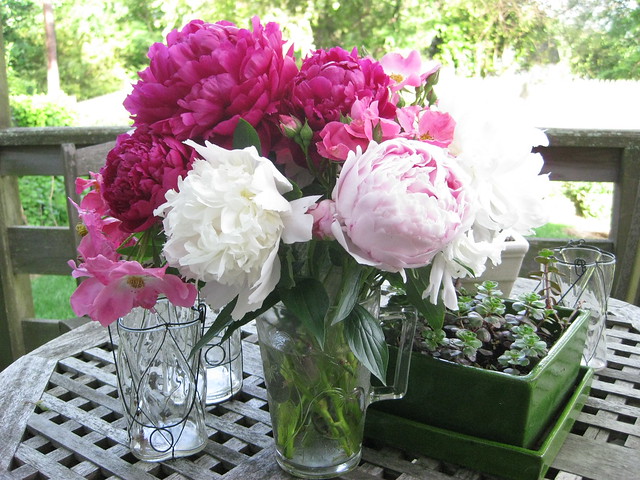
Peonies and roses freshly picked.
I love all of the creamy whites and pretty pinks together.
What's in your garden this spring?
Saturday, May 19, 2012
Watercolor 101 | Wash and Wait

So, you've assembled your materials.
Paint? check. Brushes? check. Paper? check. Water? check.
It's time to dive in with a little painterly exercise to get comfortable with watercolor.
Today is all about washes, which are essentially transparent glazes or
layers that you can build upon to create your paintings.
Honestly, I don't consciously think about what I'm doing when I'm painting.
I'm not pondering what type of washes to make, for me, painting is an intuitive process.
However, I wanted you to see what different washes look like and how to achieve them.
I would recommend using a large brush to paint washes. A round, oval or mop brush will do.Get a stack of paper, lots of water and mix up a big soupy pool of paint on your palette.
Choose a color that you love. Remember to use enough paint so that you have a nice rich color.
Don't be afraid of the water, this is watercolor after all!
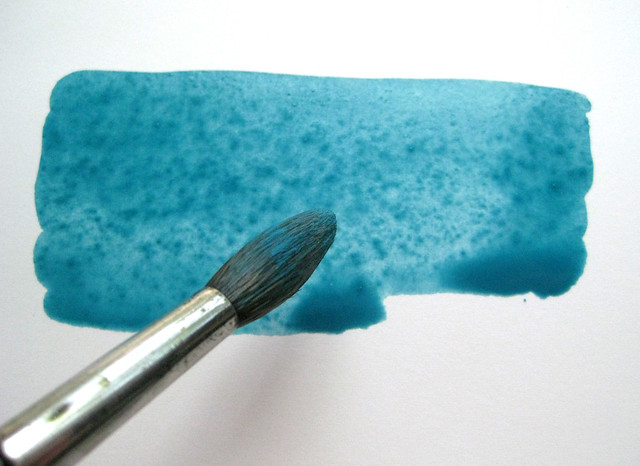
Flat Wash
Charge you brush by rolling and swirling it through your paint until it's loaded up sufficiently.
Prop you paper on an ever so slight angle and create horizontal strokes across the paper,
the paint will naturally flow downward and pool or bead along the bottom edge.
Repeat each stroke across pulling that bead into your next brush stroke.
Recharge your brush with more paint when necessary and keep repeating until you have
created a large rectangle. Try not to go over the same area twice.
Wick away that last bead of paint by blotting your brush dry and drawing off
the excess paint so that it doesn't backwash. Set your paper down and let it dry.
You should have a fairly even, flat wash covering your paper.
Graded Wash

Mix a slightly deeper, darker color on your palette.
Charge you brush by rolling and swirling it through your paint until it's loaded up sufficiently.
Prop you paper on an ever so slight angle and create a horizontal stroke across the paper,

Charge you brush by rolling and swirling it through your paint until it's loaded up sufficiently.
Prop you paper on an ever so slight angle and create a horizontal stroke across the paper,
the paint will naturally flow downward and pool or bead along the bottom edge.
Don't add more paint. Instead, dip your brush into clean water each time you stroke across the paper.
Adding water naturally dilutes the intensity of the color and creates a graded wash.
The watercolor will flow downward from dark to light.
Again, wick away that last bead of paint by blotting your brush dry and drawing off
the excess paint so that it doesn't backwash. Set your paper down and let it dry.
Wet into Wet Wash
Wet into Wet Wash

Follow the steps from the flat wash above.
While the paper is still wet, disperse the same color or introduce new colors
randomly into the wet paint and let it the paint flow in all directions.
Soft, billowing washes are created this way.
Set your paper down and let it dry.
Dispersed Wash
While the paper is still wet, disperse the same color or introduce new colors
randomly into the wet paint and let it the paint flow in all directions.
Soft, billowing washes are created this way.
Set your paper down and let it dry.
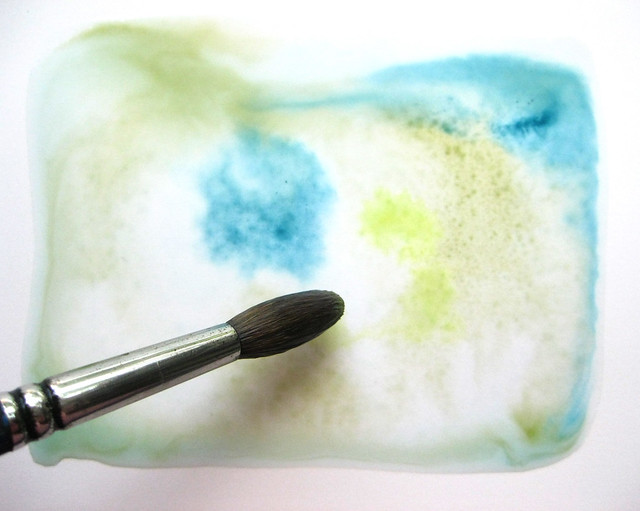
Dispersed Wash

The dispersed wash is very similar to the wet into wet wash,
only you start with clean, clear water washed over your paper.
When the paper is very wet with clear water, flow random strokes of paint into it.
Let the paint swirl, blend, and disperse in all directions.
Tip and move the paper around to further blend the paint.
When you like what you see, set it down to dry.
***
Wait for your washes to dry. I can't stress this enough.
Wait for your washes to dry. I can't stress this enough.
If you don't wait with watercolor, you will often be faced with a murky, muddy mess.
Knowing when to stop gets easier as you get more comfortable with the medium.
Less is always more with watercolor. So my advice is to wash and wait.
Knowing when to stop gets easier as you get more comfortable with the medium.
Less is always more with watercolor. So my advice is to wash and wait.
These basic washes can be combined and layered, so have fun experimenting!
If you have anything to add or have questions about washes, do post comments below.
Next time 101 is all about mark making and brush strokes.
If you have anything to add or have questions about washes, do post comments below.
Next time 101 is all about mark making and brush strokes.
Thursday, May 17, 2012
Shortly After Midnight
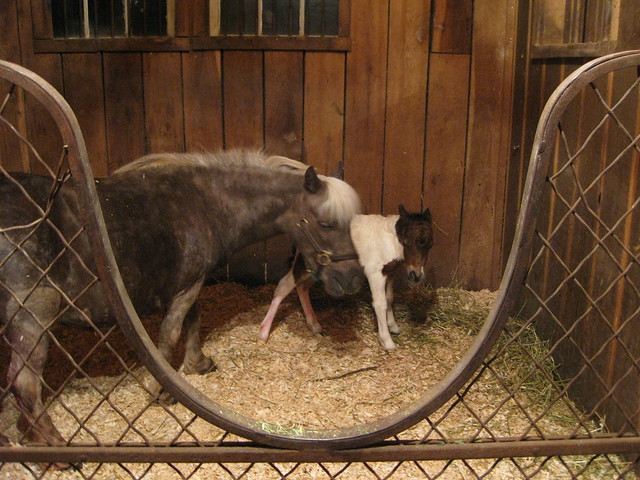
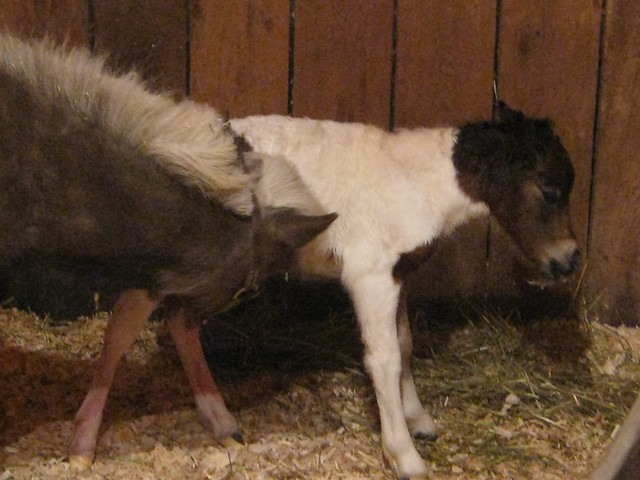
Two nights ago the phone rang at midnight. It was my neighbor from up the road.
I asked, more like begged, to be on her call list.
She had rescued a pregnant pony which she named Felicity, and she was due any day.
When I arrived the foal, a little filly, was just born and making her first attempt to stand up.
It was amazing. We watched and marveled at the pair for quite a while.
The vet soon arrived, all was well and everyone was filled with happiness.
It was hard to take pictures. The light was dim and they were moving around quite a bit,
but the grainy pictures have their own charm, don't you think?
Saturday, May 5, 2012
A Little Bigger
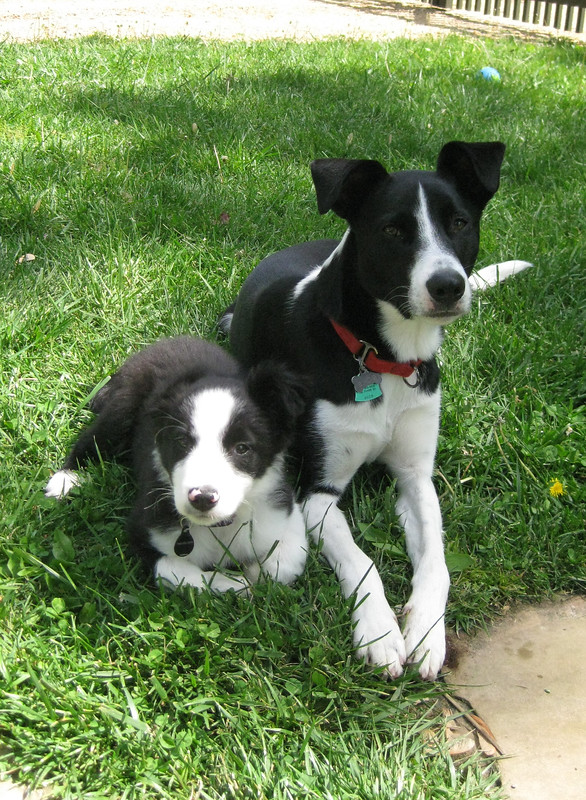
Cowboy is growing every day, but he's still a tiny little creature.
He is the sweetest little guy and is a super fast learner.
Birdie tolerates quite a bit of his puppy antics including those very sharp milk teeth of his.
She loves him like a true older sister would: playing, taunting, chasing, scrumming over toys,
more chasing, more scrumming, sleeping, and starting all over again.
More pictures on flickr.
Thursday, May 3, 2012
Fabric8
Hello my friends! Happy Thursday!
Above is a pattern I designed called Frolic which I have entered in the Fabric8 contest
Above is a pattern I designed called Frolic which I have entered in the Fabric8 contest
sponsored by Spoonflower and Robert Kaufman Fabrics. Frolic was inspired by spring,
flora and fauna, and the delightful miniature paintings of the Mughal Court.
flora and fauna, and the delightful miniature paintings of the Mughal Court.
Spoonflower received over 750 pattern submissions and a jury selected 100 pattern designs.
I am so happy to have made it to the semi-final round.
Anyone can vote for their favorite designs from May 3 to May 9th.
The top 8 designs will go to the final round and develop a collection.
Click here to vote.
Spread the word. Fingers crossed!
I am so happy to have made it to the semi-final round.
Anyone can vote for their favorite designs from May 3 to May 9th.
The top 8 designs will go to the final round and develop a collection.
Click here to vote.
Spread the word. Fingers crossed!
Tuesday, May 1, 2012
Watercolor 101 | Paper
Paper is your foundation for painting and as with your paints and brushes,
great materials are a must. Most watercolor papers are mouldmade papers
manufactured from pure cotton rag,which is a naturally binding,
archival and absorbent material that makes a great sheet of paper.
Watercolor paper is finished with gelatin sizing which further binds the cotton fibers
together and helps to stiffen the paper so that when you paint with water,
the sizing moderates the absorption and the paper doesn't
fall apart while you are working. Arches is my favorite brand of watercolor paper.
I love it. It's like butter! That said, there are so many great makers of paper
as well as some very fine boutique handmade papers too.
Try different papers and find what works for you.
***
There are three basic surface finishes:
Hot press paper has a very fine, smooth finish and cold press paper has
a textured surface, sometimes referred to as the grain or tooth.
Rough is a very grainy paper with a lot of tooth. The choice is yours.
There are three basic surface finishes:
Hot press paper has a very fine, smooth finish and cold press paper has
a textured surface, sometimes referred to as the grain or tooth.
Rough is a very grainy paper with a lot of tooth. The choice is yours.
What does the weight mean? For the purpose of painting, you need only know
that the higher the weight, the thicker and more substantial the paper will be.
Paper is measured in pounds per ream or grams per meter.
A typical ream of paper is about 500 sheets of paper and sometimes more,
so the weight actually refers to the how much the entire ream weighs.
Watercolor paper comes in several weights, the most common being: 90, 140, 300 Lb.
A 300 Lb. paper is considered a heavy weight paper and
it is very resilient to water saturation, holding its shape well.
It is ideal for larger work, however it is also very costly per sheet.
***
I prefer to use large individual sheets of paper which I order in bulk.
that the higher the weight, the thicker and more substantial the paper will be.
Paper is measured in pounds per ream or grams per meter.
A typical ream of paper is about 500 sheets of paper and sometimes more,
so the weight actually refers to the how much the entire ream weighs.
Watercolor paper comes in several weights, the most common being: 90, 140, 300 Lb.
A 300 Lb. paper is considered a heavy weight paper and
it is very resilient to water saturation, holding its shape well.
It is ideal for larger work, however it is also very costly per sheet.
***
I also use watercolor paper blocks from time to time,
the blocks come in a variety of weights, finishes and sizes.
A block is a stack of pre-cut paper sheets, gummed or bound on the edge with tape,
which holds the sheets together and prevents the paper from cockling as you work.
After you are finished working and your painting is dry,
peel the paper from the block,and voila!
A fresh new sheet of paper is underneath.
***
Cockled paper occurs from saturating paper with water and paint.
Sometimes the paper dries unevenly causing everything from slight warping
to a very puckered and buckled paper surface. It is not a flaw.
It is simply a part of working with the medium and I think it has a certain charm.
However, too much cockling can be distracting from the painting itself and
you can avoid much of it by using a high quality, heavy weight, properly sized
watercolor paper or stretching your paper before painting.
Personally, I prefer to use a heavy weight paper and
avoid the extra work and preparation.
Let me know if you have any question!
Here are a few places to shop for watercolor paper:
Next time 101 is all about washes.
Subscribe to:
Comments (Atom)


